Few things are more frustrating for a content creator than spending hours framing a shot, fine-tuning colors, and rendering a crisp 4K video, only to watch Instagram turn it into a pixelated, muddy mess the moment it goes live. You preview the file locally on your phone and it looks immaculate; on your profile, it resembles a low-bitrate clip from 2008.
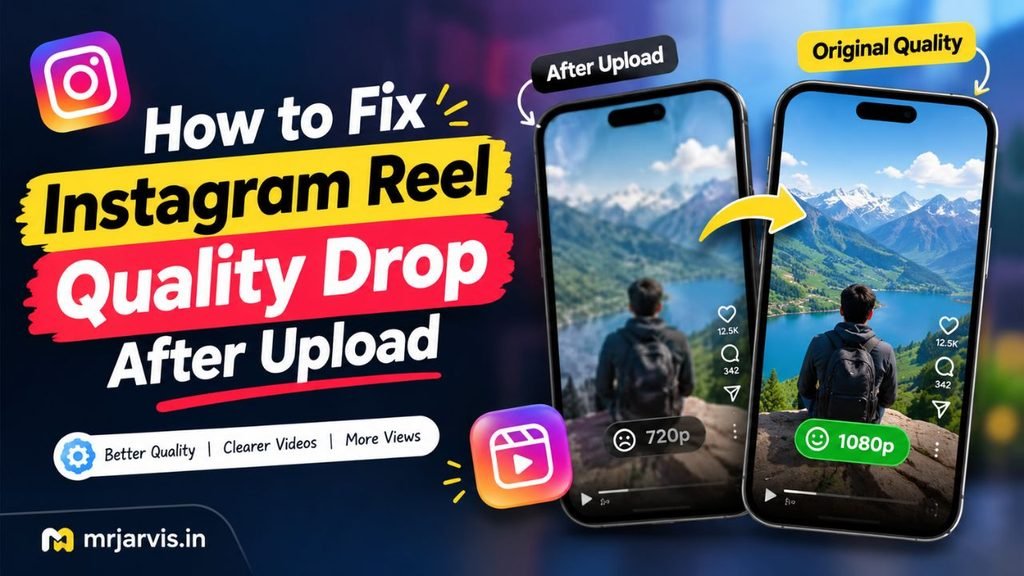
If you are trying to figure out how to fix instagram reel quality drop after upload, you are not alone. This issue does not mean your smartphone or camera setup is subpar. It is the direct consequence of Meta’s aggressive server-side compression algorithms, sub-optimal export parameters, and misconfigured in-app network toggles.
In this comprehensive guide, we break down why this quality loss happens and the exact step-by-step solutions to preserve sharpness, correct frame rates, and ensure your Reels stream in high definition every single time.
Why Does Instagram Compress and Ruin Reel Quality?
To fix video degradation, you must understand what happens behind the scenes when an upload initiates. Instagram hosts billions of video impressions daily. Delivering uncompressed, high-bitrate files across varying global cellular networks would overwhelm Meta’s content delivery networks (CDNs) and cause endless buffering for users.
To prevent this, Instagram deploys an automated transcoding pipeline:
- File Size Thresholds: If an uploaded file exceeds internal bitrate or resolution baselines, the server forces it through aggressive downscaling.
- Variable Frame Rate Penalties: Footage shot with fluctuating frame rates (common on mobile devices recording under uneven lighting) triggers compression artifacts during server rendering.
- Network Throttling: If you upload on a fluctuating Wi-Fi or weak 5G connection, Instagram’s client-side encoder automatically drops the file’s bitrate to prevent the upload from timing out.
The goal is not to feed Instagram the largest file possible, but rather to give its compression pipeline a file formatted so precisely that the transcode engine barely touches it.
Step 1: Enable the “Upload at Highest Quality” Setting
By default, Instagram often prioritizes data conservation over visual fidelity. Even if you shoot on a high-end setup, the app will compress your footage locally before it ever reaches the server if this switch is disabled.
How to Toggle High-Quality Media on iOS and Android:
- Open the Instagram app and navigate to your Profile.
- Tap the hamburger menu (three horizontal lines) in the top-right corner.
- Select Settings and Privacy.
- Scroll down to the Your app and media section and tap Data usage and media quality.
- Locate the Upload at highest quality toggle and switch it ON.
- Ensure the Data Saver / Use less cellular data option is strictly toggled OFF.
Once enabled, Instagram will always allocate full processing bandwidth to your files, even if the upload takes noticeably longer over mobile data.
Step 2: Stop Uploading Raw 4K (Target Native 1080p Instead)
A pervasive misconception among creators is that uploading 4K files produces sharper Reels. On Instagram, the opposite is true.
Instagram does not support native 4K display for Reels. The maximum vertical resolution displayed within the mobile feed is 1080 x 1920 pixels.
When you upload a 4K video (2160 x 3840), Instagram’s server downsamples the video to 1080p using crude, rapid-compression algorithms. This causes color banding, edge blurring, and dropped frames. If you instead downscale your 4K footage down to 1080p inside a dedicated video editor (like Final Cut Pro, Premiere Pro, or DaVinci Resolve) using high-grade bicubic or Lanczos scaling, you control the compression quality—not Instagram.
Step 3: Optimal Export Settings for Instagram Reels
When exporting your finished edit from your desktop software or mobile editing suite (such as CapCut or VN), apply these exact parameters to prevent re-encoding:
| Setting Parameter | Recommended Specification | Reason |
| Dimensions / Aspect Ratio | 1080 x 1920 (9:16 vertical) | Matches Instagram’s native feed layout exactly. |
| Codec | H.264 (.mp4) | Universally compatible; avoids secondary container conversion. |
| Frame Rate | 30 fps or 60 fps (Constant) | Variable frame rates cause severe audio-video desync. |
| Target Bitrate | 15 Mbps to 20 Mbps (VBR 2-Pass) | High enough for crisp detail; low enough to evade server crushing. |
| Audio Format | AAC, 320 kbps, 48 kHz, Stereo | Prevents audio muddying and robotic artifacts. |
| Color Space | Rec.709 / sRGB | Prevents washed-out colors upon web delivery. |
Setting your bitrate to an excessive number—like 60 Mbps or 100 Mbps—is the primary trigger for the dreaded “blurry post” bug. Instagram flags massive bitrates as inefficient and crunches them down brutally, often landing below 3 Mbps. Keeping your export between 15 and 20 Mbps stays safely under the auto-compression threshold.
Step 4: Fix Cross-Platform File Transfer Compression
If you edit on a computer or capture footage on an iPhone and transfer it to an Android device (or vice versa), how you move the file matters immensely.
- Never transfer via standard WhatsApp or basic Messenger chats: These services aggressively compress videos before sending.
- Avoid AirDrop if HDR is not properly mapped: Sending iPhone HDR footage to devices that don’t interpret Dolby Vision profiles properly results in completely blown-out highlights and muddy blacks.
- Use Lossless Methods: Transfer your masters using Google Drive (download original file), Telegram (sent as an uncompressed “File/Document”), AirDrop with display color profiles matched, or a direct USB cable connection.
Step 5: Disable In-Camera HDR on Mobile Devices
Modern smartphones record in 10-bit HDR (High Dynamic Range) by default. While this looks stunning on your phone’s OLED screen, Instagram’s processing engine frequently struggles to map HDR highlights down to SDR (Standard Dynamic Range) correctly for all viewers.
This mismatch often causes the reel to display blindingly bright subtitles while the underlying footage turns dark, gray, or soft.
How to Turn Off HDR Video (iPhone):
- Open your device Settings.
- Tap Camera > Record Video.
- Scroll down and toggle HDR Video to OFF.
Shooting in standard 8-bit SDR ensures that what you see in your camera roll is precisely what appears on your followers’ feeds, with no erratic exposure fluctuations post-upload.
Step 6: Test Upload with a Stable Network Connection
Instagram encodes a portion of the video during the active upload handoff. If your Wi-Fi drops packet data or your cellular connection dips from 5G to LTE midway through processing, the app silently compensates by dialing down the upload bitrate on the fly.
- Always upload while connected to a stable, high-speed Wi-Fi network or an uninterrupted 5G connection.
- Avoid moving between rooms or switching access points while the upload progress bar is active.
- Do not close or force-quit the application immediately after tapping “Share.” Allow the app to remain open in the foreground for at least 60 to 90 seconds while the server finishes indexing the master video.
Conclusion
Understanding how to fix instagram reel quality drop after upload comes down to controlling the pipeline before Meta’s automated systems take over. High-end camera gear cannot compensate for a mismatched bitrate or an uncalibrated resolution.
By flipping the in-app “Upload at highest quality” switch, exporting natively in 1080p at 15–20 Mbps, standardizing your color profile to Rec.709, and avoiding uncontrolled HDR transfers, you effectively bypass Instagram’s harshest compression filters. Follow this exact workflow for your next reel, and your content will retain the clarity, contrast, and crispness it had on your editing timeline.